Storyboard Techniques for Branded Animation Films

Featured Image vector: Freepik
Did you know, 74% marketers voted in favor of videos than blog posts for the purpose of lead generation? Since lead generation is directly tied to profit making and sales, it makes sense to start thinking about video content as part of your brand’s overall content marketing strategy.
But while most people are comfortable (and reasonably talented) in writing, not everyone can produce good video content. Keeping the technology aside, most content marketers who are heavily focused on blog posts may not know much about where to even start with a video content.
Here is a guide for you on how to start creating an animation video for your brand.
It all starts with a storyboard
A storyboard is to a video what an outline is to an article. A story board is a collection of sketches/panels/pictures/screenshots depicting each scene in the animation video and visually presenting how the final video should transition and look like.
Creating a storyboard that effectively fulfils this basic purpose requires a bit of understanding about storytelling.
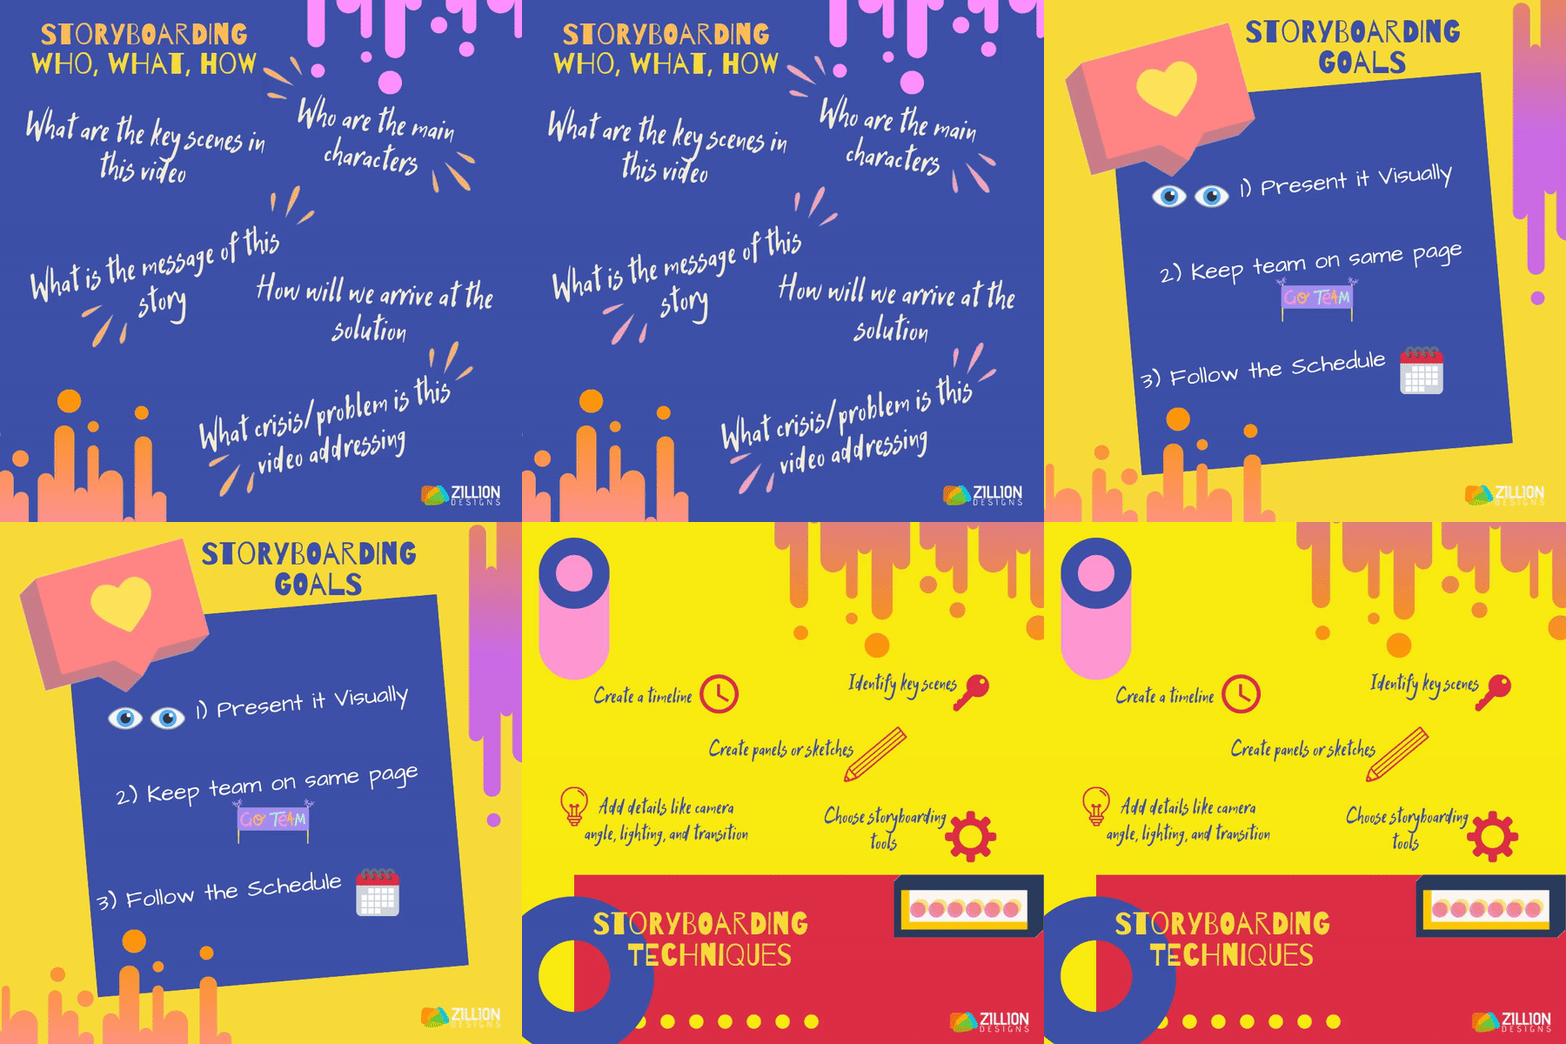
- What is the message of this story?
- Who are the main characters?
- What are the key scenes in this video?
- What crisis/problem this video is addressing?
- How will we arrive at the solution?
A good animation film – whether for big screen or for web – contains all these essential elements and techniques of storytelling. Therefore, be clear about the narrative and progression of your brand story in the video.

Goals of a Storyboard for Brand Animation Film
When creating a storyboard for marketing purposes, we have three main goals to deliver on:
Present it Visually
The ultimate goal of a storyboard is to present the structure of the video content visually.See how the scenes will follow each other, how the story will progress, and if this progress is impacting enough. Presenting the ideas in your mind on visual boards helps you mark the blind spots and keep the story tightened.
Keep the teams on the same page
Collaboration is a major part of video making. There are writers, developers, designers, and directors all working on a single animation video so it’s possible that ideas will clash and conflicting opinions will emerge.
Advertising Company Logos
Media Service Logos
Audio Production Logos
Entertainment Logos
To keep it civil and use the chaos for creativity, a storyboard aids the collaboration process. Developers can tell which scenes will take the most to create, marketers can decide if the effort is worth it, writers can see which parts need more or less dialogue, and directors can help create a better flow than first envisioned.
Follow the Schedule
With so many people working on a single project, it is entirely possible that projects can be delayed. Having a storyboard and knowing which areas are being worked on currently helps keep everyone on schedule.
Techniques of Storyboarding
The techniques of storyboarding in a branded animation film and a Disney movie are pretty much the same – except for the multimillion dollars and intense detailing that goes into the latter.
Now that you’ve got the basic idea of what a storyboard is, and know its primary goals,let’s see what actually goes down into creating one.

1. Create a timeline
Your brand animation film will be divided into four major portions: opening, problem identification, solution, and end (CTA).
Depending on the objective for your video – is it a lead generation video, a seasonal promotional content, or aimed at improving engagement, etc. – the ideal length for a video should be 30seconds to 2minutes. But as a thumb rule, the shorter the video the better.
In fact, shorter videos – 30-45 seconds – perform the best on Instagram and Twitter.For Facebook and YouTube, a 2minute video sounds great. Keeping these lengths in mind, divide your video’s major portions according to the time you want to give to each in the video.
This will help you know how many scenes to include in each portion, what should be the length per scene, and how best to contain the story within this time.
2. Create panels or sketches
In this step we will create sketches or panels for each scene. The more detailed they are, the better. You can create sketches using a simple pen or paper. You can even do stick figure drawings. Include arrows and other details in the panel to make it clearer. You can also use an online tool to create panels.
The purpose of a panel is to define the action taking place in the moment. Creating sketches for each moment will make the task easier for everybody involved. Since a panel is just one part of a whole scene, more than one panels are often used per scene.
3. Number them down
To keep the confusions at bay, make sure each of your sketch is numbered. If there are more panels per scene, make sure the numbers identify them. The more organized you keep the story board the more visually cleaner it’ll be and help you picture everything accurately.
4. Add details like camera angle, lighting, and transition etc.
In your sketches, if you are using paper pencil drawings, or in your storyboard tool’s text box, add all the important details you can think of. Arrows, descriptive words such as ‘fade in, zoom, fade away, pan…’ and reference shots in the form of pictures, screenshots, and comments etc. should be part of each sketch on the storyboard.
Also add special instructions about the lighting, specific mood you want to evoke, and particular transitioning effects that you prefer.
5. Write the script
The purpose of your brand animation video will help you decide whether you want a narrative script or dialogue-based. Most branded animations are narrative, while others benefit more from dialogues. Try both and see which works before you finalize the script.
To start the script, prepare an outline first. This outline will give your storyboard the initial structure. As you sit down to write, the storyboard will now come to aid you. Different scenes will inspire you for different dialogues/lines.
Since the duration of the branded animation film will be limited, you’ll need to keep your script tight and to-the-point.
6. Identify key scenes
Each story contains some key scenes. It’s true for animation videos for marketing too. Sometimes the story itself identifies which scenes needs to be given proper stage and in some cases it’s the writer and director who make this decision.
No matter which route you take to make this choice, just make sure you have key scenes – scenes identifying the problem, marking the solution, etc. – recognized before you start placing them on the storyboard. They should appropriately be highlighted and marked.
You also need to decide if you want special treatments for these scenes, like zooming in, fading out, any triggers you might want to place in those scenes (“the button should pulse to hint the customers to click it”) and what you’d like to happen in result of that trigger (“…once it’s clicked it shows the sign up box”).
7. Choose a storyboarding tool
The last part is about choosing the storyboard tool to present all these details in stark visual frames. If you are reasonably good at drawing and your startup brand’s animation video is simpler, you can make do with sketched paper drawings and place them on a wall.
However, for treating the whole process right, we suggest using a storyboard tool. As a video content virgin, you can also look for free storyboard templates on the Internet with a simple Google search. As you begin to learn more and get a grasp over things, and gain confidence in your video making ability, you can invest in a high tech option such as:
8. Branding Your Brand’s Animation Video
The last part is where you will ‘mark’ the video as an extension of your overarching brand. You can do this by using your brand’s color theme in the video. For example, as the background of your video, or by letting the characters interact with them such as by wearing the brand colors, or you can also make the arrows and other pointers etc. in the video draped in your brand colors.
A most prominent way, however, is to add your business logo into the animation. If you are creating this video as the launch announcement for your brand, a great way to introduce your business logo would be to make the logo a character in the video.
Or you can make it much simpler and just place the logo on the top right hand corner of your video screen.
For entrepreneurs who haven’t yet finalized a company logo design, make sure you do it your earliest. Find a design company that you see eye-to-eye with and whose creations speak your language and get your logo design taken care of.
Remember to do it long before you start thinking about your launch video. Your logo is the structure upon which the theme of your video will be built.

Final thoughts
With brands increasingly focusing their marketing efforts towards video content, we hope this article has helped you understand how you can also begin creating one. The techniques of storyboarding for an animated film require more detailing than for a live video. We hope this beginner’s article has given you enough material to go on with. In our next post, we will try and talk about the matter in more detail. Let us know in the comments what do you think.


